Yander Studios
About
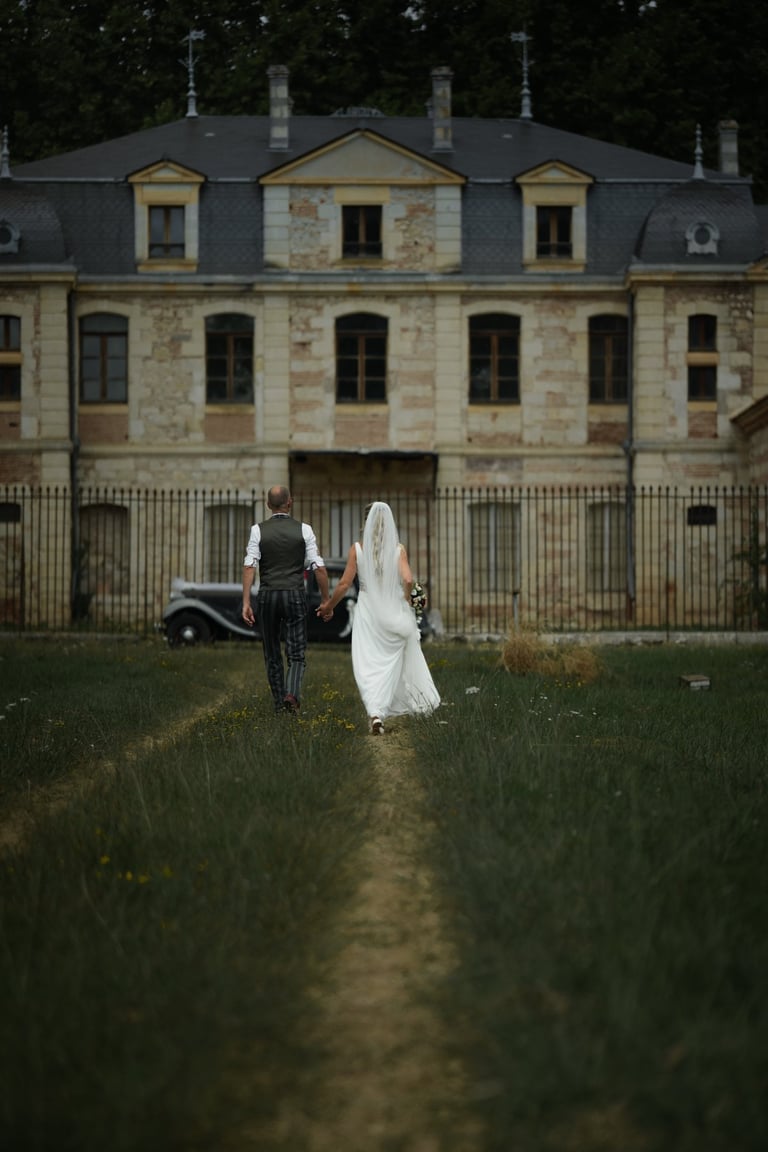
Image Gallery
Video Gallery
Good Words
Price
Contacts
en
English
Nederlands
Yander Studios
About
Image Gallery
Video Gallery
Good Words
Price
Contacts
en
English
Nederlands
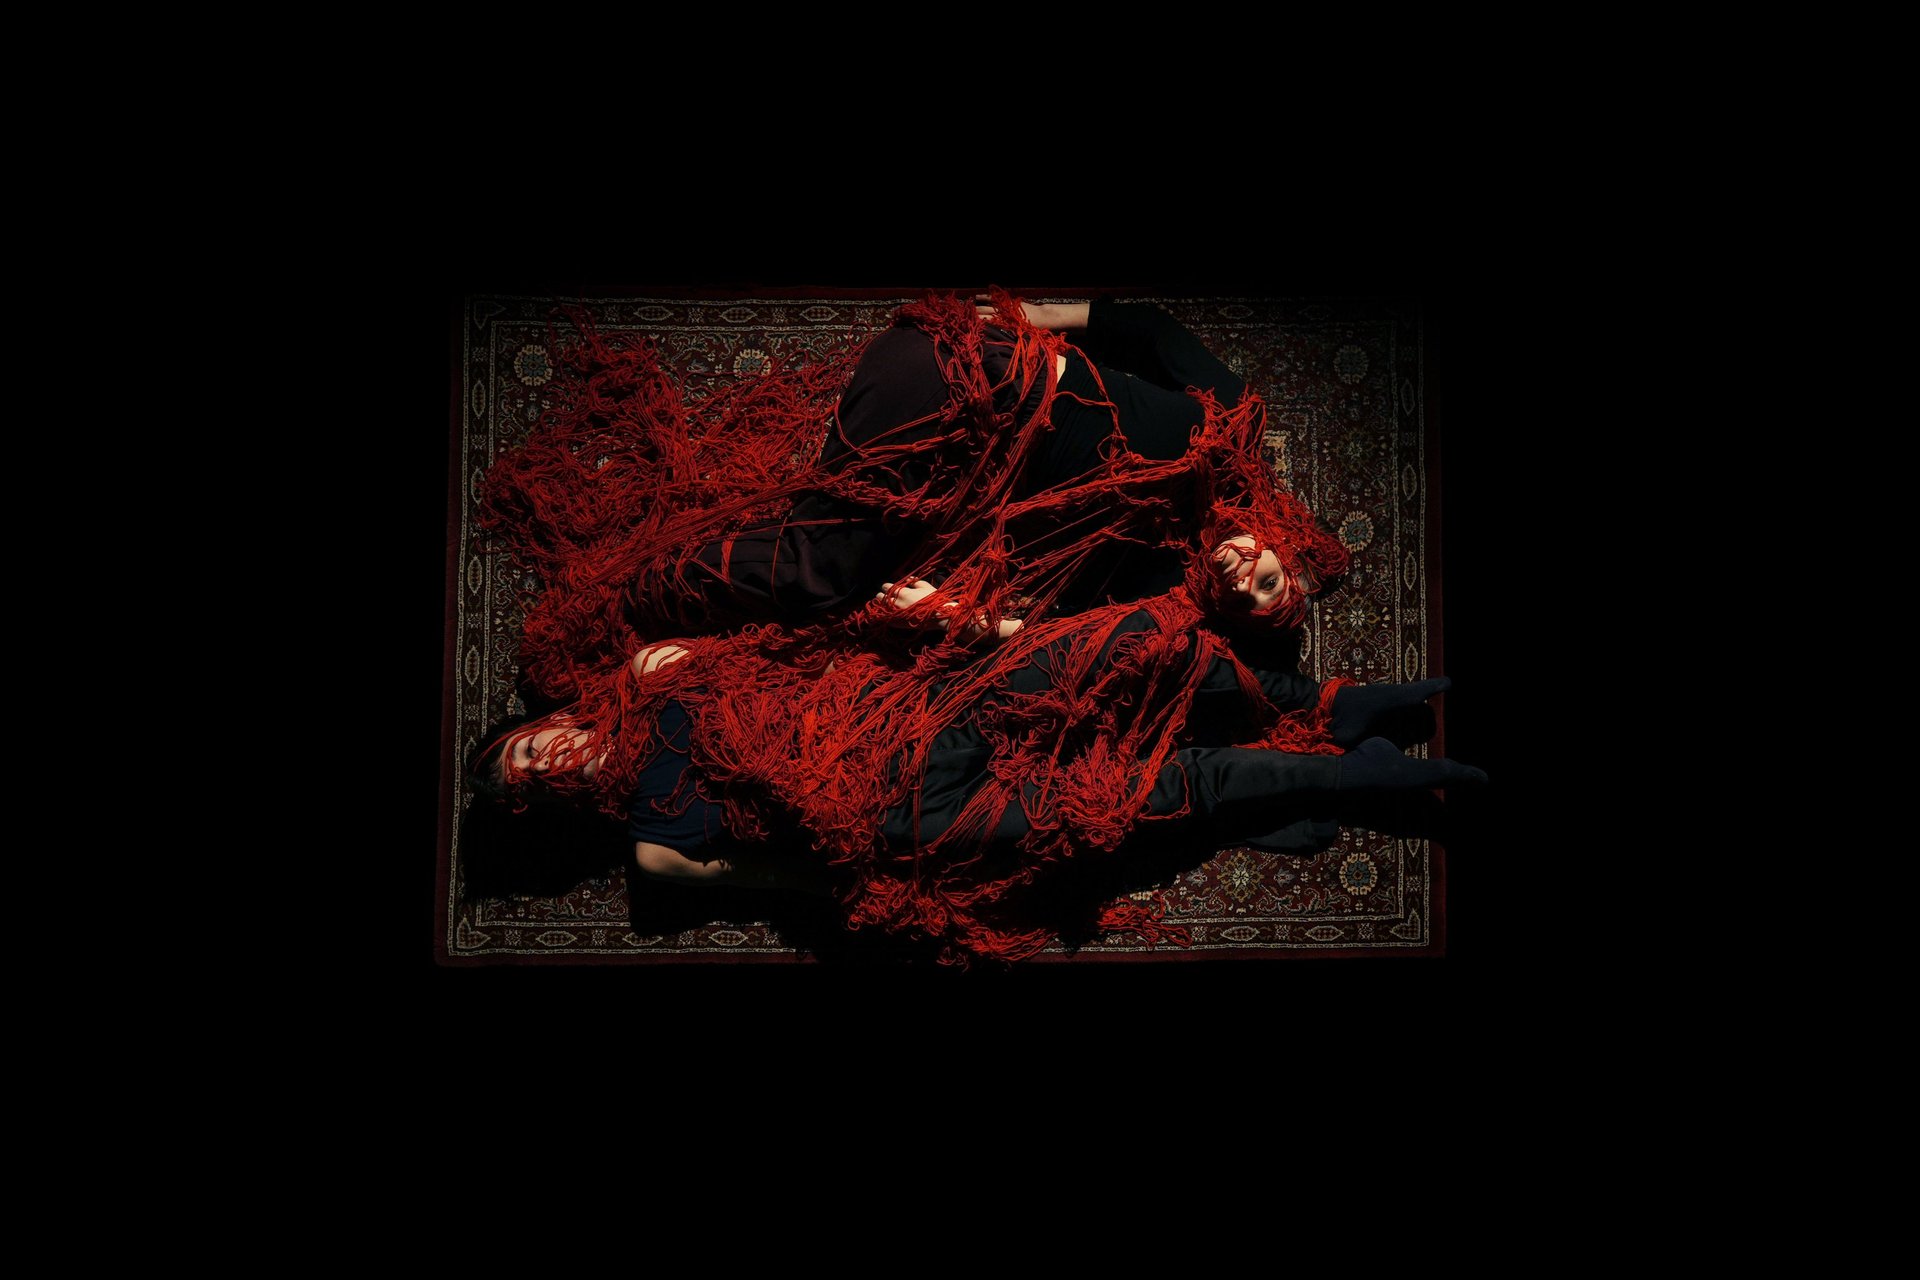
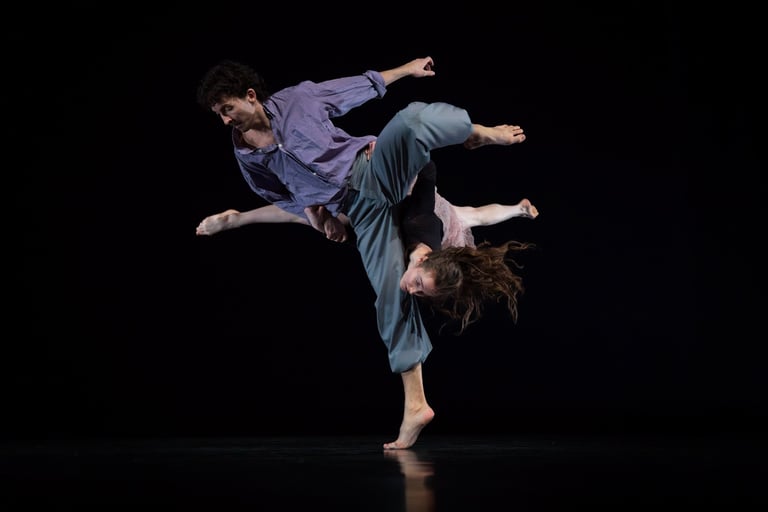
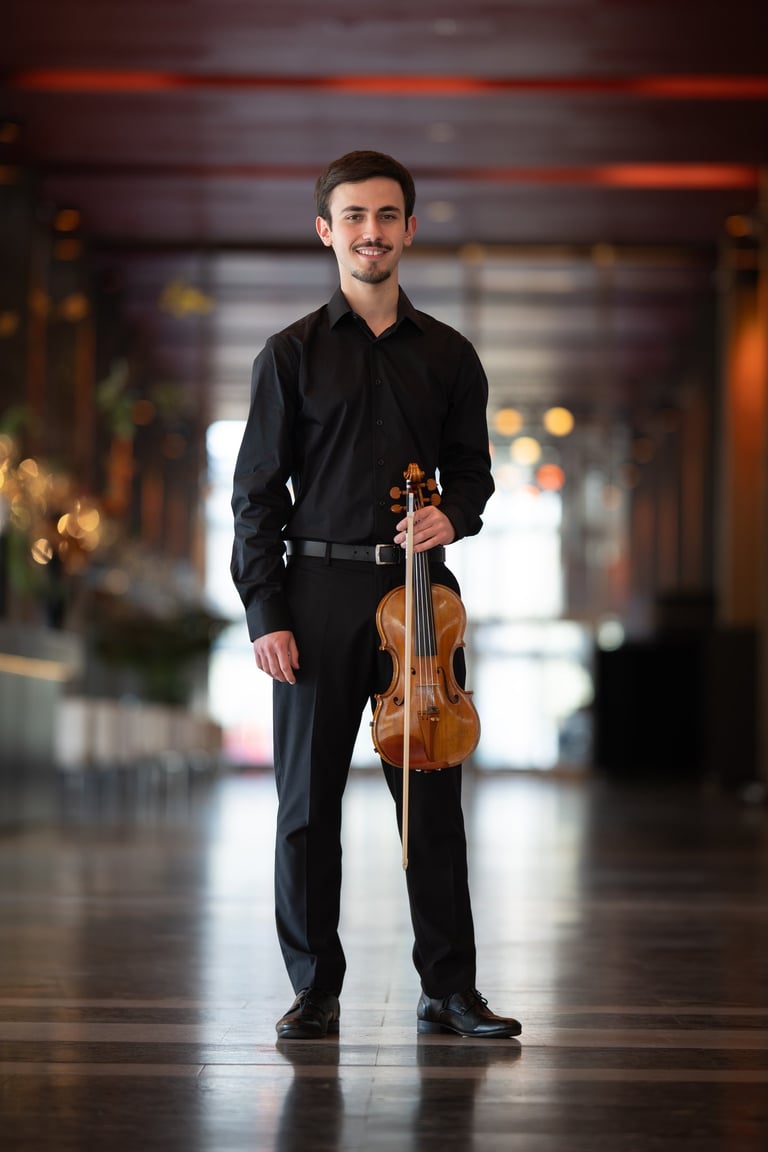
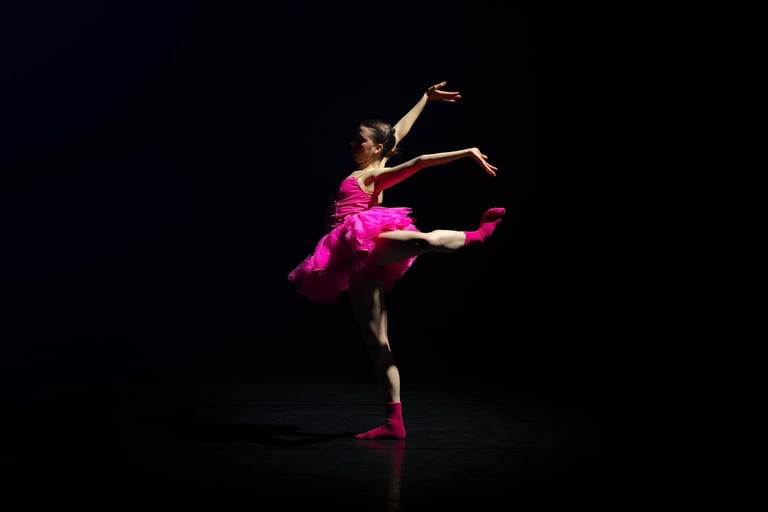
VIDEO & PHOTO
IN MOTION
Inquire
Video
Example of one of my video's
Video Gallery
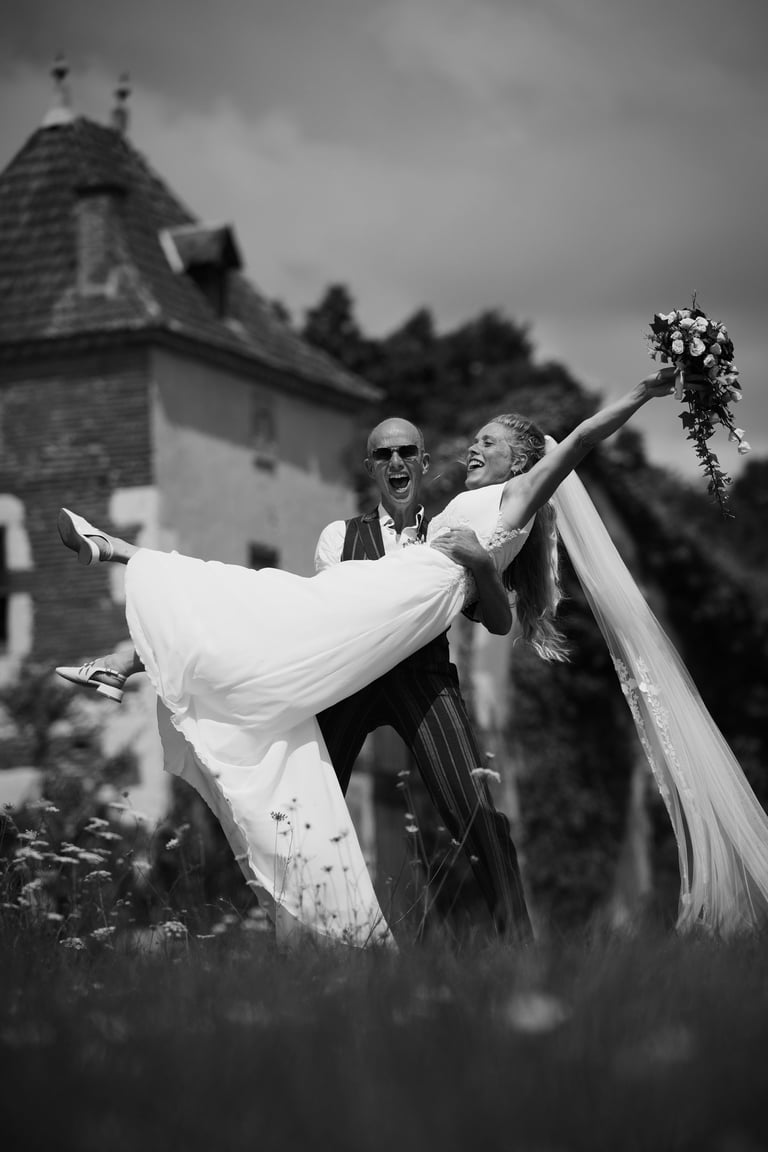
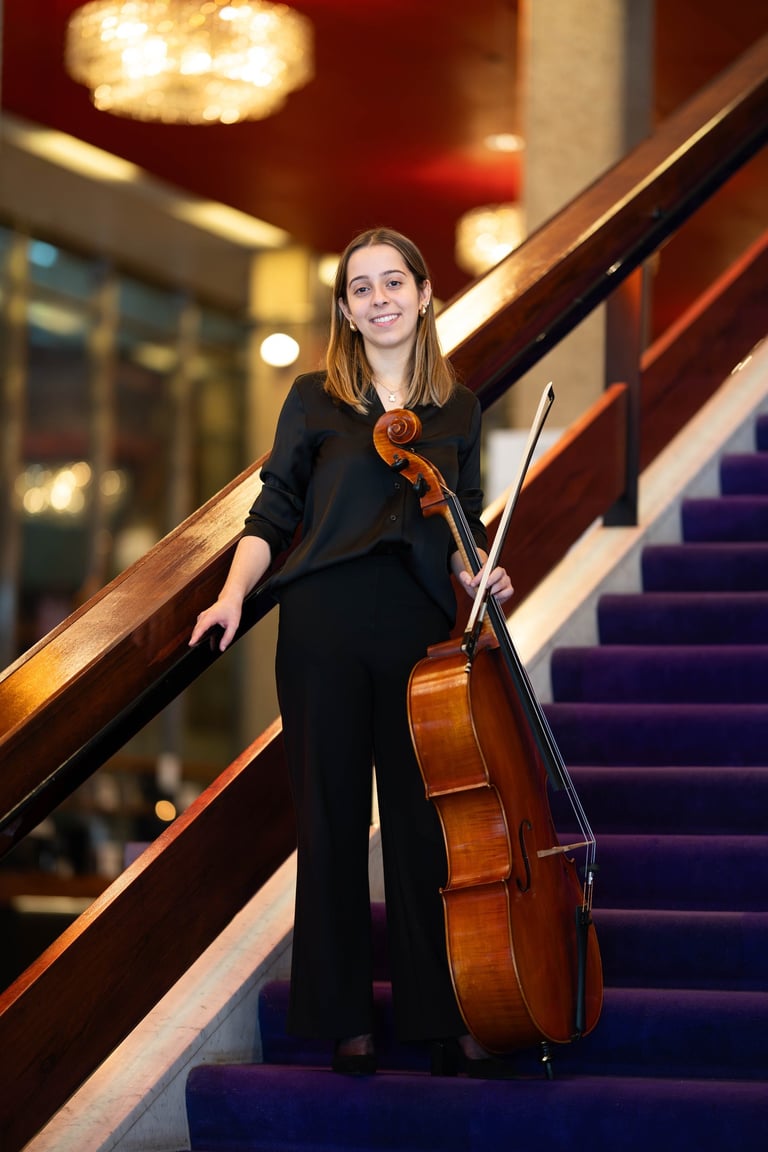
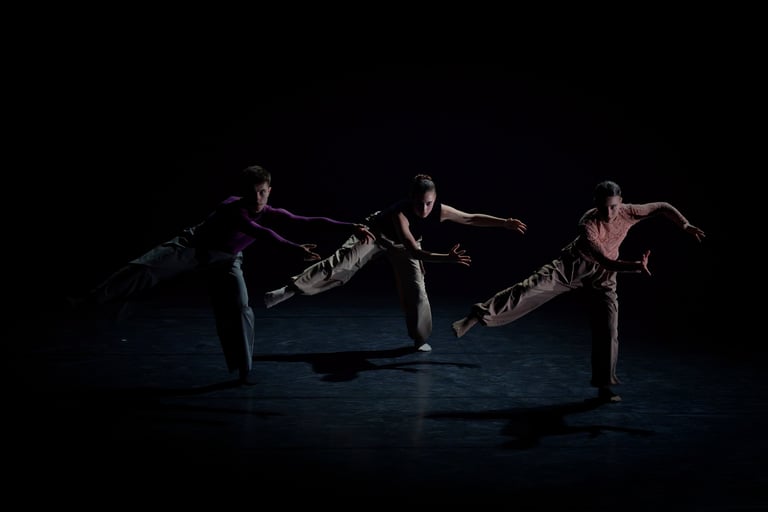
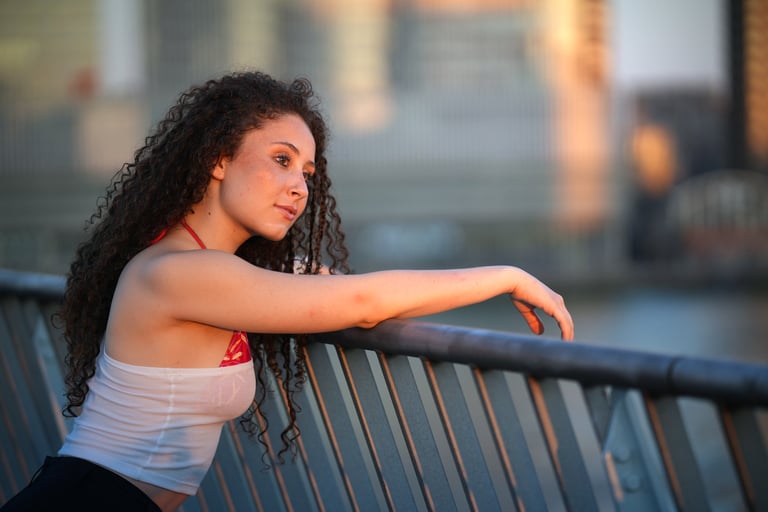
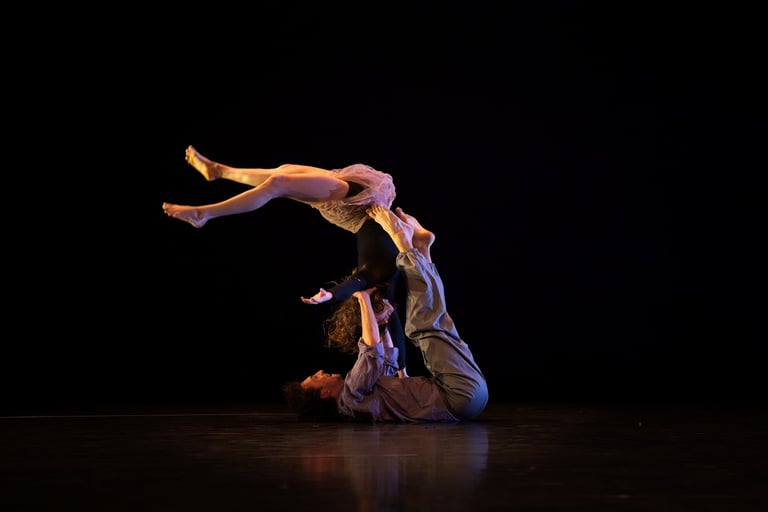
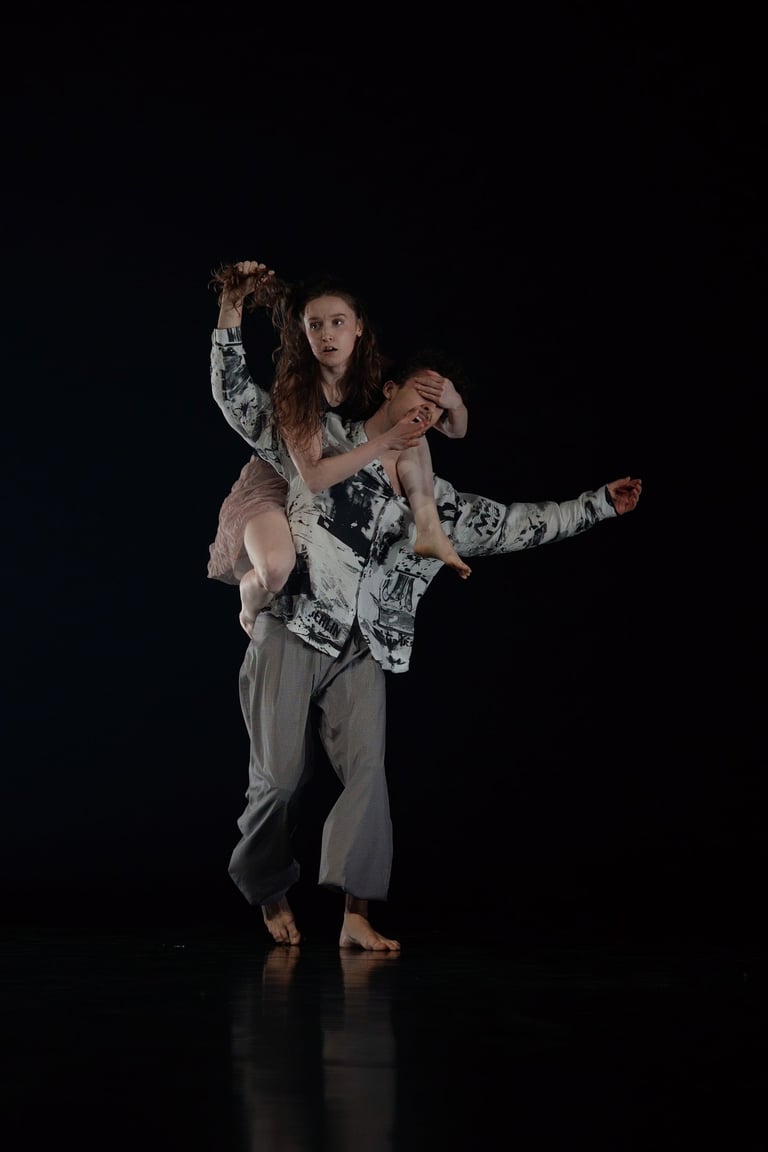
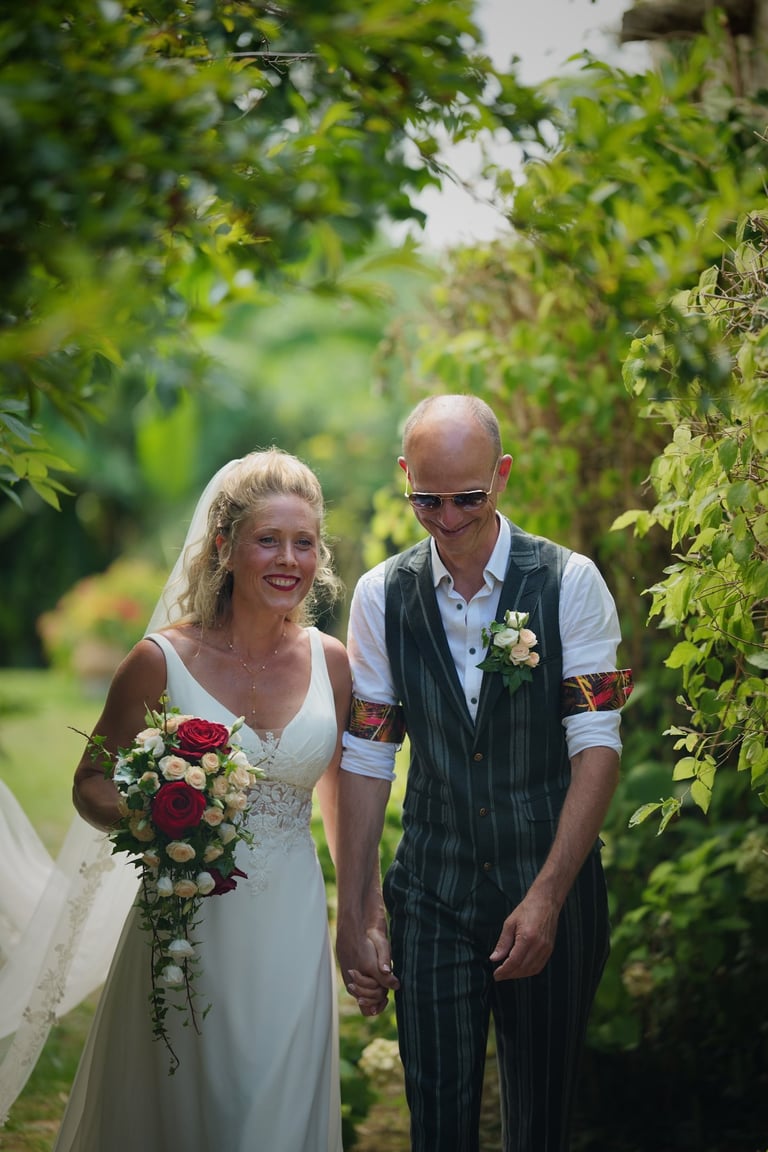
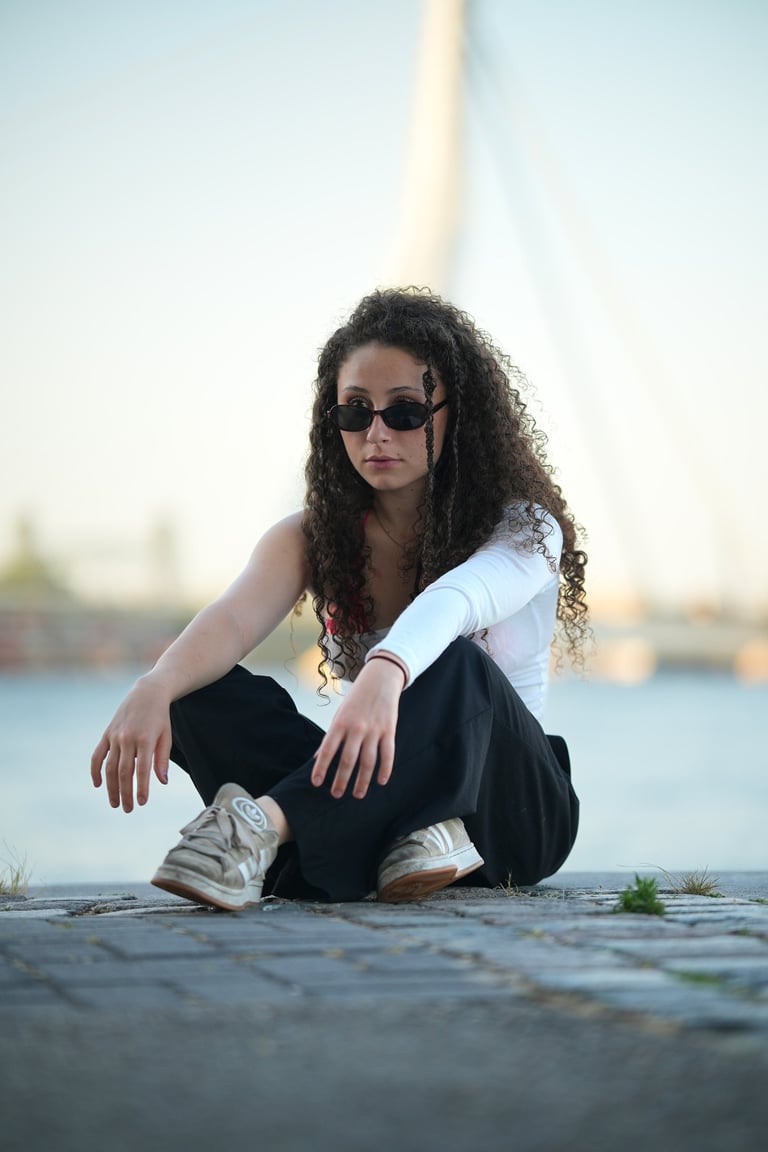
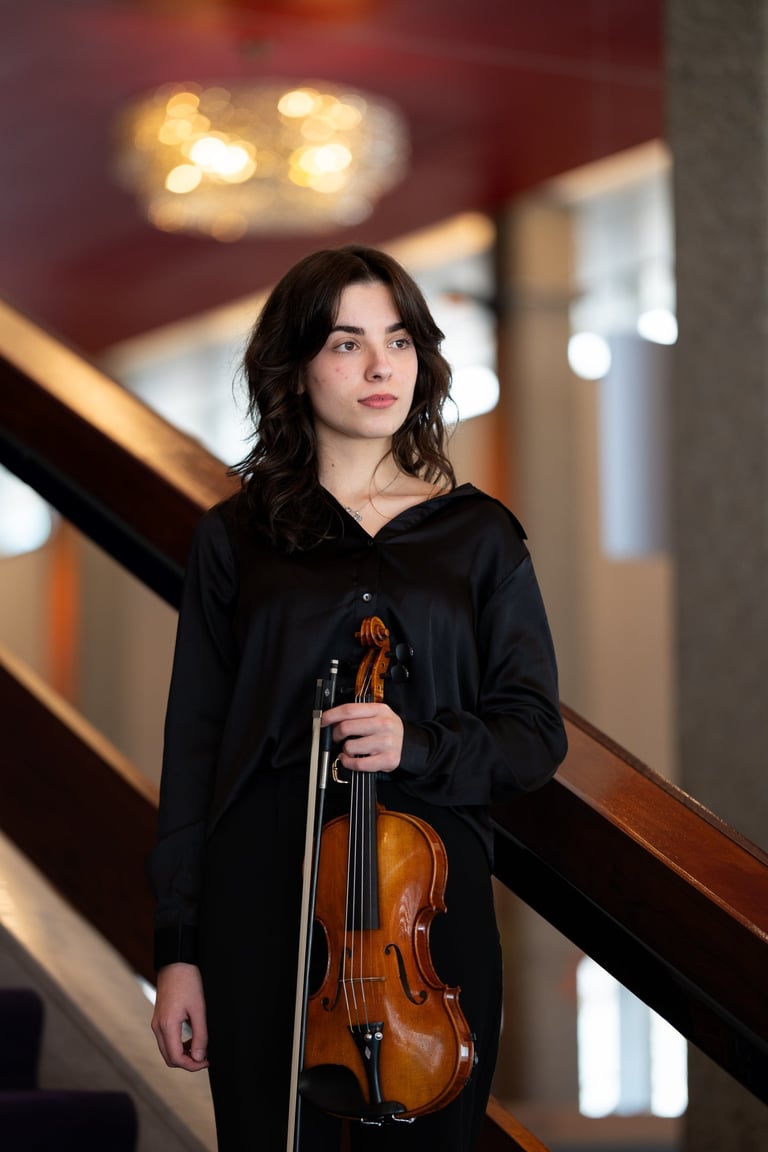
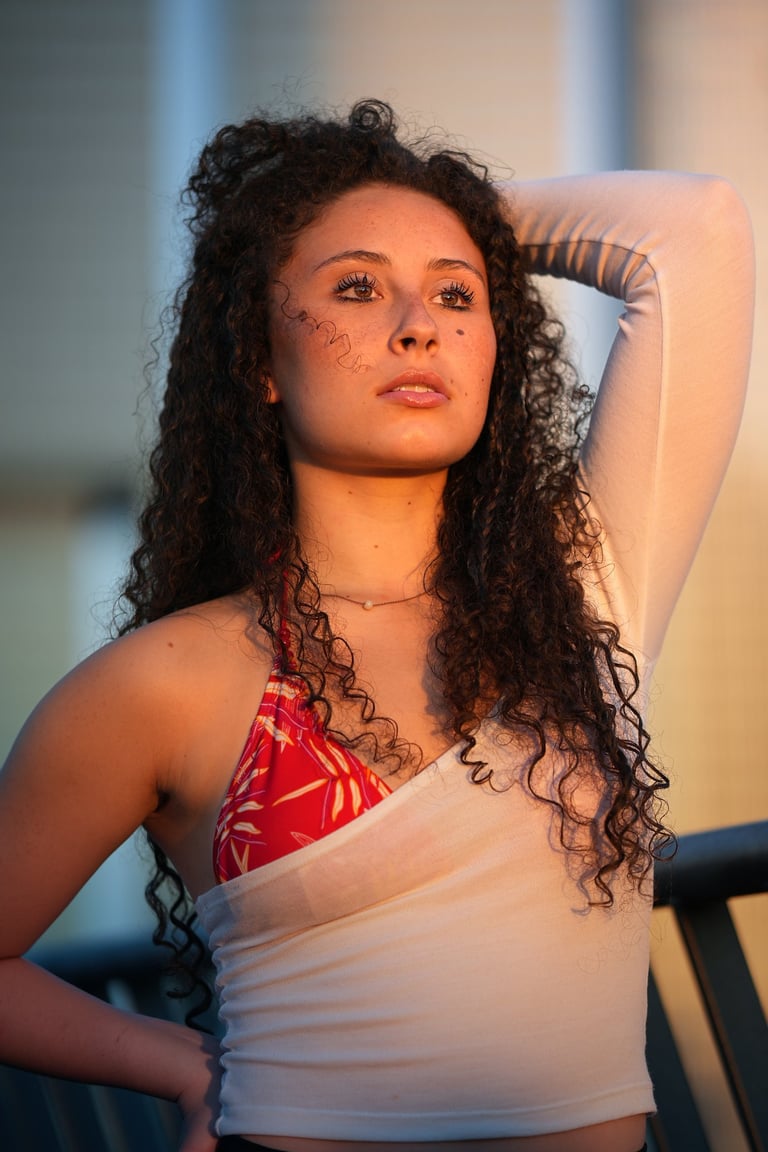
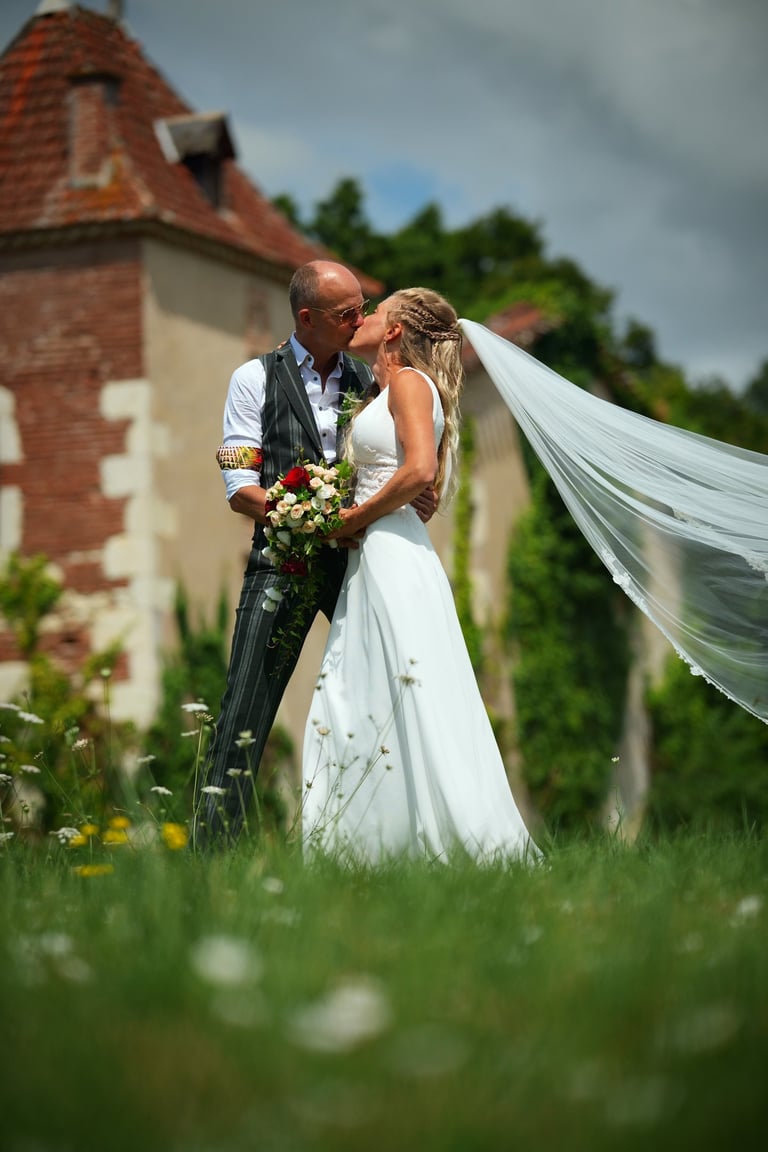
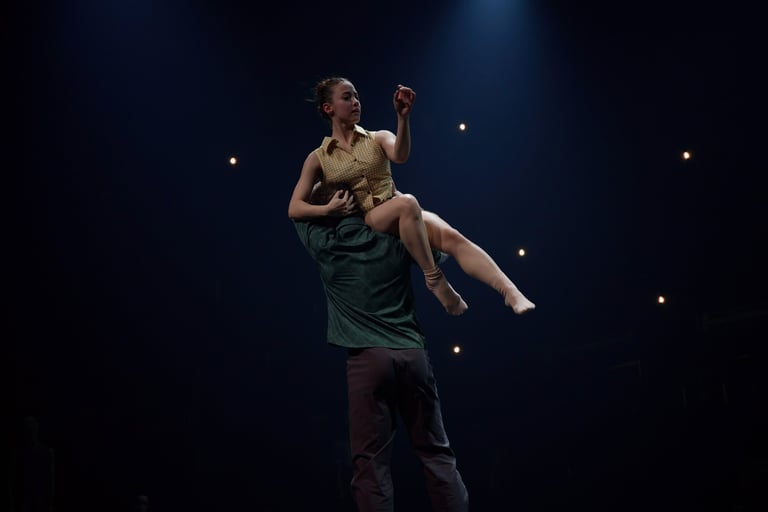
Photo Gallery
My Work
Yander van der Wurff